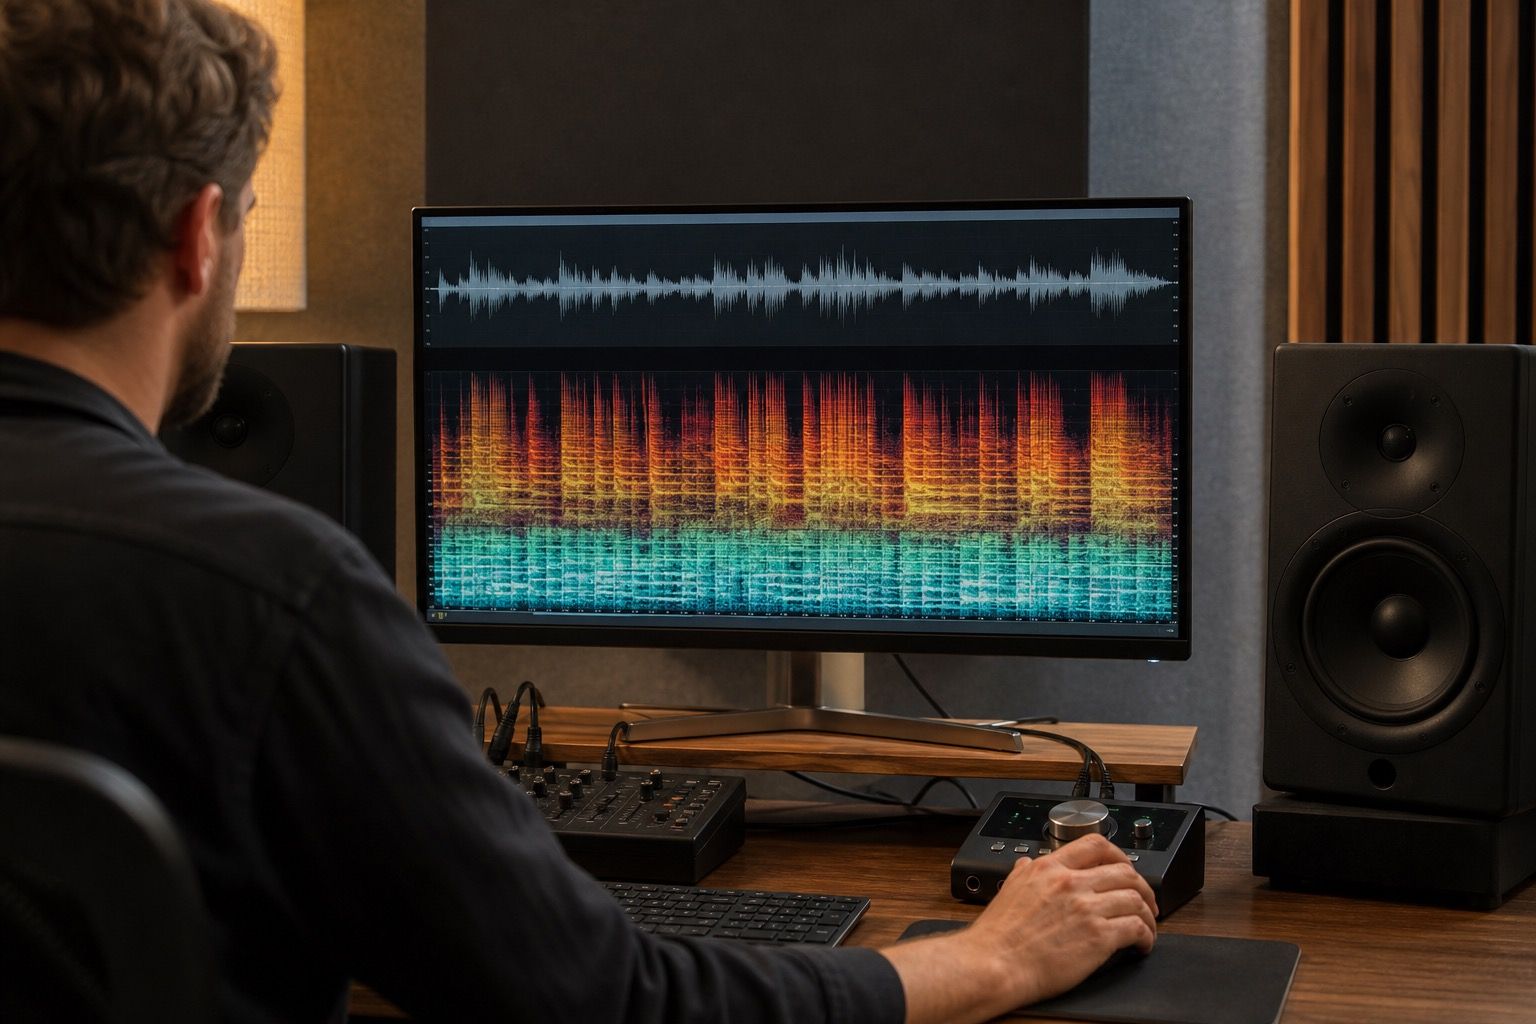
AI-generated music can sound impressive for the first ten seconds and then oddly tiring by the second chorus: a fizzy vocal edge, a glassy cymbal wash, a low smear that follows the bass, or a little metallic shadow around every note. Good AI audio artifact removal is not about sterilizing the file until it becomes smaller and duller. It is about finding the layer that distracts the listener, reducing it enough, and leaving the musical movement that made the take worth saving.
What makes AI artifacts different from ordinary noise
Tape hiss, room noise, mouth clicks, and cheap microphone buzz usually sit in predictable places. They may be annoying, but they behave like ordinary sound. AI music artifacts are stranger because they often live inside the musical material itself. The shimmer around a vocal can move with the melody. The distortion around a snare can open only when the chorus gets busy. A pad may carry a watery swirl that sounds almost deliberate until headphones reveal it as a repeated texture.
That is why a heavy noise reduction pass often makes an AI-generated track worse. The processor hears the artifact as part of the voice, the guitar, or the reverb tail. Push too hard and the repair starts chewing the harmonics that give the track shape. I usually listen first at a plain, unflattering level: not loud enough to be exciting, not quiet enough to hide the problem. If the flaw still pokes through on laptop speakers and closed headphones, it deserves attention. If it only appears when the track is soloed at a silly volume, it may not be the first battle.
Fix the most distracting layer first
The fastest way to ruin a repair session is to chase every small imperfection at once. AI music artifact removal works better when the first pass has one target. On a vocal song, that target is usually the vocal edge: sharp consonants that fizz, sustained notes with a robotic halo, or doubled syllables that seem to bend inward. On an instrumental track, it might be cymbal hash, fake room tone, or a bass layer that leaves a blurred trail after each note.
I like to mark three short sections before touching tools: the cleanest verse moment, the worst chorus moment, and a quiet transition where the artifact sits alone. Those three spots keep decisions honest. A cut that sounds perfect in the verse may leave the chorus flat. A denoiser that calms the intro may pump when the full arrangement arrives. Repair should be judged against the whole song, not against the one second where the plugin preview flatters itself.
| Artifact you hear | First thing to check | Repair move to try |
|---|---|---|
| Metallic vocal edge | Upper mids and sibilance | Narrow dynamic EQ before broadband cleanup |
| Watery swirl | Reverb tail and stereo sides | Reduce side level or soften modulation-heavy bands |
| Low masked distortion | Bass notes during dense sections | Clean low mids before adding compression |
| Cymbal glass | High band during chorus peaks | De-harsh gently, then compare with the original |
Keep movement while removing grit
The best repairs preserve small changes in pressure. A vocal should still lean into important words. A synth should still breathe as the filter opens. Drums should still feel like they hit harder in the chorus than in the verse. If the cleaned version has a calmer spectrum but less motion, the repair has taken too much. This is a common trap with spectral editing, multiband smoothing, and broadband restoration tools because they can make the waveform look neater while the song feels less alive.
One useful check is the dry versus wet balance of the repair itself. Instead of committing a processor at full strength, blend the treated signal back under the original or automate the repair only where the artifact is obvious. A metallic ring on two held notes does not require the same setting across an entire vocal. A short spectral attenuation on those notes may do more good than a permanent high-frequency blanket. The more selective the fix, the less you have to compensate later with bright EQ or excitement.
Harmonics need special care. They are also where many AI artifacts hide, so the repair can feel like cleaning a window with sandpaper. If the lead part loses identity after processing, step back and ask whether the unwanted sound is actually masking a weak generation. Sometimes a lighter cleanup plus a better arrangement choice is more convincing than an aggressive restoration pass. The listener notices confidence before they notice laboratory cleanliness.
Avoid polishing a broken source too hard
Some AI-generated audio is not worth deep repair. That sounds harsh, but it saves hours. If the melody has unstable syllables, the drums collapse when summed to mono, or the bass note changes character every bar, cleanup will only make the failure more expensive. AI audio artifact removal can reduce ringing, swirl, metallic texture, and codec-like grit. It cannot turn a confused source into a solid performance without tradeoffs.
Before spending the evening with tiny cuts, compare the current file with a fresh generation, an alternate prompt, or a shorter source section. I use a simple rule: if the artifact is tied to one layer, repair it; if the entire arrangement seems to be inventing new errors every few seconds, regenerate or rebuild. This is especially true for songs with stacked AI vocals. Once several voices share the same synthetic noise floor, removing it from the mix can thin the entire hook.
Codec artifacts deserve their own caution. If the file has already been exported through a lossy stage, the crunchy top end may not be purely from the model. Do not boost into that damage while trying to recover air. Work from the cleanest available source, keep a high-quality reference export, and avoid repeated encode cycles while testing. A repaired WAV that later becomes a streaming file needs headroom and stability, not a brittle top end that only sounded exciting in the editor.
Build a repeatable listening pass
A repair chain should end with listening, not with a pretty analyzer. I run the cleaned track through four ordinary checks: low volume on speakers, normal level on headphones, a quick mono pass, and a loud chorus pass for fatigue. The low-volume check reveals whether the main hook survived. Headphones expose small metallic tails. Mono makes phase smear and fake stereo width less flattering. The loud chorus pass tells you whether the listener will tense up without knowing why.
Keep the original file beside the repaired version and switch often. The goal is not to win every A/B by sounding smoother. The goal is to make the distracting artifact leave the foreground while the groove, vocal emotion, and dynamic range remain believable. If the original has more life, the repair is too strong. If the repaired file lets you forget the flaw and stay with the song, the pass is probably close.
The most reliable workflow is modest: identify the artifact, fix the worst layer first, protect musical harmonics, avoid over-processing broken sources, and test on real playback. AI music artifact removal is careful craft, not a single rescue button. The satisfying moment is quiet: the track stops asking the listener to forgive it, and the song can simply play.