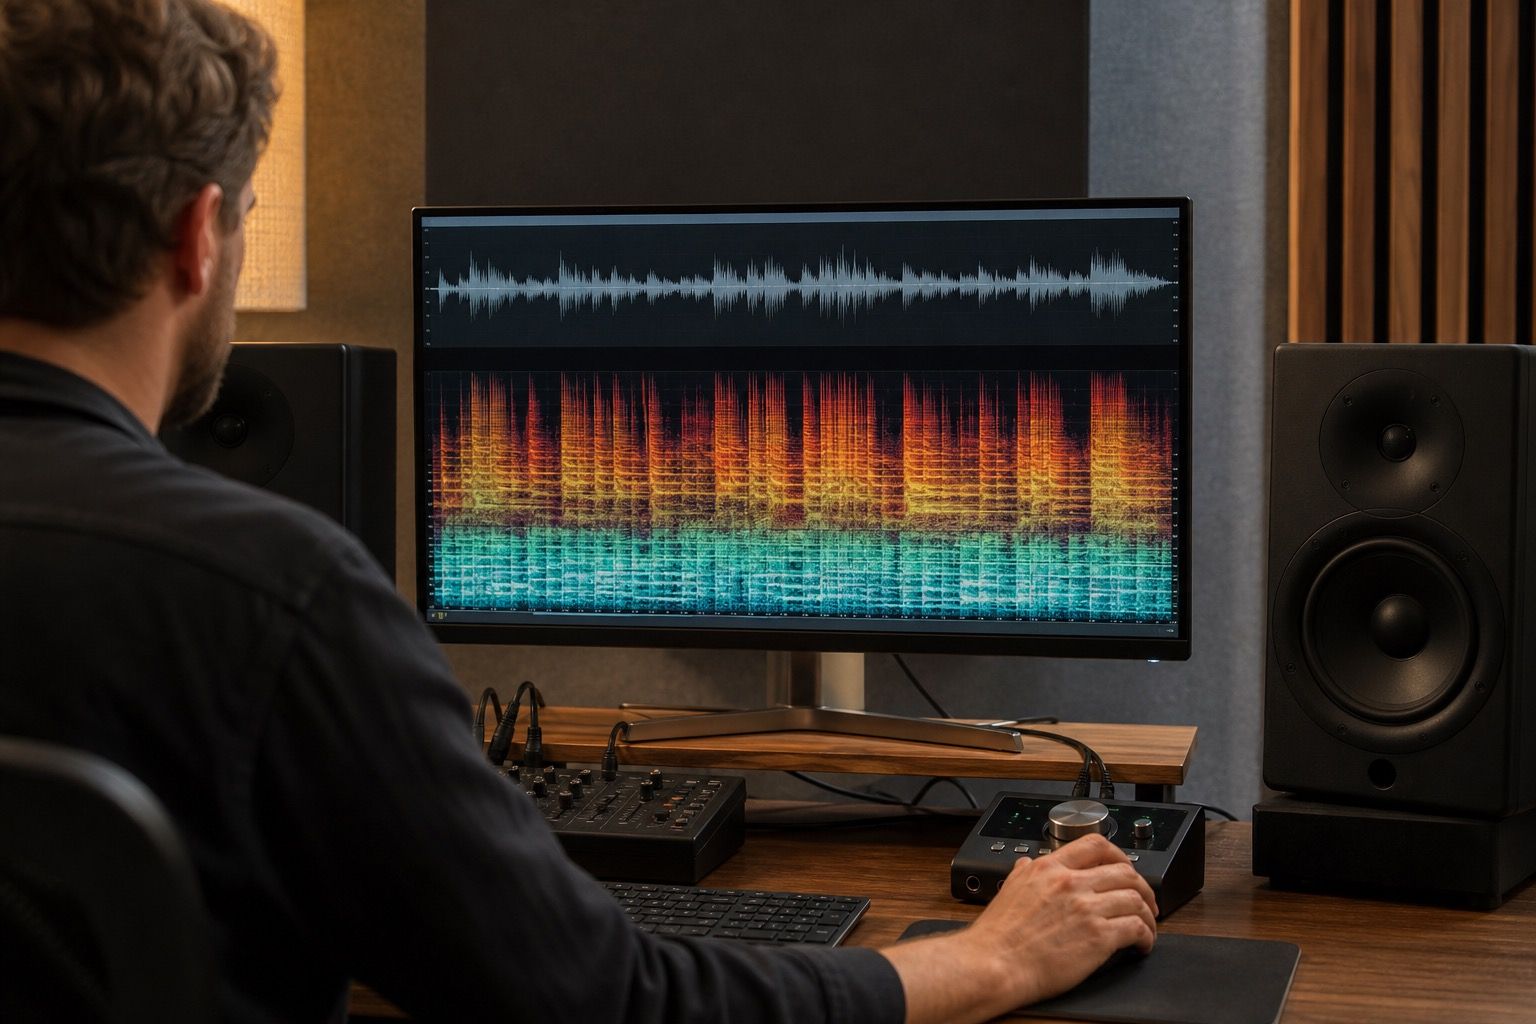
A mastering workflow for AI music should begin after the obvious cleanup work is finished, not while clicks, humming, brittle cymbals, and fake vocal tails are still moving around the mix. Mastering can make a cleaned track feel focused and ready to export. It can also make hidden artifacts louder, sharper, and much harder to ignore.
Clean before loudness decisions
The first rule is plain: do not chase loudness while the track is still dirty. AI music often carries small problems that behave differently once a limiter starts working. A faint buzz under a vocal may become a fixed tone. A glassy hi-hat may turn into a pressure point. A little low-mid mud may trigger compression and pull the whole chorus down.
Before the mastering chain, listen through the full track at a moderate level. Mark clicks, strange breaths, syllables that smear into reverb, over-bright cymbal tails, and bass notes that jump out. Then check the same moments in a spectrogram. You are not looking for a pretty picture. You are looking for repeatable evidence: a narrow horizontal line, a sudden vertical spike, a block of noise above the vocal, or a missing transient where the groove should hit.
Cleanup should leave a pre-master with enough headroom and no heavy processing on the final bus. A peak around -6 dBFS is not a magic number, but it gives space to work. If the AI export is already clipped or crushed, reduce gain first and decide whether the damage is baked in. Turning down a clipped file does not restore clipped peaks, but it stops the next processors from making the damage worse.
Set a reference and a pre-master
Choose one or two reference tracks before touching the limiter. The reference should match the role of your track: dense pop, soft acoustic, cinematic instrumental, club loop, or background music for a video. Do not compare a fragile AI piano ballad to an aggressive commercial EDM master and then wonder why it falls apart.
Put the reference in the same session and lower it until it feels similar in loudness to the pre-master. This step is easy to skip and easy to regret. Louder almost always feels better for the first ten seconds. Level matching makes the comparison more honest. You can then ask useful questions: is the vocal too forward, is the low end too cloudy, are the highs smoother, does the chorus open up, does the track become tiring faster than the reference?
Save the cleaned mix as a separate pre-master file before starting. Keep a simple name with date or version. If you are doing sortie prep for several uploads, this habit prevents confusion later. The master can change, the platform export can change, but the pre-master remains the point you can return to when a decision goes sideways.
| File | Purpose | Keep or replace? |
|---|---|---|
| Cleaned pre-master WAV | Main source for mastering | Keep unchanged |
| Master session | EQ, dynamics, limiter, checks | Revise as needed |
| Listening export | Phone, car, earbuds, laptop tests | Replace often |
| Upload export | Final platform-ready file | Keep final only after approval |
| Archive notes | Settings, issues, metadata notes | Keep with the project |
Check true peak and harsh sections
Once the track is cleaned and referenced, build the chain gently. A small corrective EQ before compression may remove low rumble or a narrow whistle. Broad tone shaping can come later. If you use saturation, use less than the exciting amount. AI-generated material can already contain synthetic edges, and extra harmonic grit may make them feel cheaper rather than richer.
The final limiter should not be asked to solve every problem. Push it until the track feels competitive, then pull back and listen to the worst sections. The chorus, the loudest vocal phrase, the densest cymbal area, and the bass-heavy drop are the places where artifacts usually reveal themselves. Watch true peak, but also watch your own reaction. If your shoulders tighten every time the hook arrives, the meter is not the only issue.
A LUFS check is useful, but it is not a command. Streaming platforms, video platforms, and private client deliveries may all treat loudness differently. Avoid country-specific assumptions such as a special rule for music export Poland unless your distributor or client has given a real technical spec. In ordinary release preparation, the safer target is a clean master with controlled true peak, no clipped export, and enough dynamic life that normalization does not expose harshness.
Export versions for listening, archive, and upload
Export at least two versions before calling the job done. One is a listening copy that you can send to your phone, laptop, car, or small Bluetooth speaker. The other is a high-quality archive or upload candidate, usually WAV. If you need MP3 or AAC, create them from the final master and listen again. Lossy encoding can exaggerate swirls, chirps, and high-frequency fuzz in AI music.
Do a short real-world pass. Start the track from silence. Skip into the middle of the chorus. Listen to the last ten seconds. AI endings are often weak: reverb freezes oddly, vocals collapse into breath, or a cymbal tail becomes a fizzy wash. Mastering can make that ending sound more exposed. If the last impression is bad, fix the ending instead of hiding it behind a louder export.
For platform export, keep filenames clear and boring. Include the song title, version, sample rate if useful, and whether it is master or instrumental. Do not overwrite the only good file because a last-minute limiter tweak seemed harmless. The minute you have three files named final, final2, and final-real, the workflow has already started leaking time.
Keep notes so the next track improves faster
AI music production improves when you track patterns. Write down what you cleaned before mastering, which reference worked, where the limiter struggled, what LUFS and true peak values you kept, and which export sounded best on small speakers. These notes do not need to be elegant. They need to be searchable when the next track has the same metallic vocal edge.
Also note prompt or generation habits that caused trouble. If a certain vocal style produces constant humming, or a dense arrangement creates brittle cymbals, the mastering workflow is telling you something about the source. Fixing it earlier is usually faster than repairing it at the end.
The best mastering workflow for AI music is not dramatic. It is a sequence of small refusals: refuse to master dirty audio, refuse to compare against an unrelated reference, refuse to let the limiter make decisions for you, refuse to trust one export without listening outside the studio. That kind of discipline makes cleanup audible, keeps release preparation calm, and gives the next track a better starting point.